

Views: 0 Author: Site Editor Publish Time: 2026-10-29 Origin: Site


High-pressure washdowns are notorious for destroying expensive dashboard equipment. When you squeeze the trigger on a commercial pressure washer, the resulting 1,500 PSI blast does not merely clean the surface. It actively hunts for microscopic vulnerabilities. Water inevitably finds its way into the tiny, almost invisible gap behind a gauge bezel. This hidden leak causes dangerous electrical system shorts, corroded terminals, and erratic readings. Properly sealing this vulnerable gap remains the only reliable method to prevent sudden, catastrophic panel failure.
Whether you are maintaining a rugged military truck, upgrading a classic dashboard, or installing a modern digital display, defending your instruments against water ingress is critical for long-term electrical safety. In this technical guide, we will break down the exact waterproofing steps, material selections, and Ingress Protection rating considerations required to shield your gauges from aggressive washdown procedures.
Proper Material Selection: Utilizing the correct marine-grade silicone, EPDM rubber gaskets, or specialized O-rings is essential to prevent moisture penetration. Standard household caulking will fail rapidly under industrial mechanical stress.
Application Matters: Sealing techniques must adapt to the operational environment. A standard dashboard requires basic splash protection, whereas military-grade equipment or marine gauges demand stringent IP67-level defense.
Step-by-Step Execution: Maintaining a surgically clean surface, executing precise sealant application, and allowing proper curing time constitute the three critical pillars of a successful watertight seal.
Upgrade Over DIY: In highly corrosive or high-pressure environments, upgrading to a factory-sealed unit is often a more reliable and cost-effective strategy than attempting to retrofit an unsealed, standard gauge.
Recent engineering analyses highlight a significant shift in heavy-duty equipment maintenance protocols. Fleet managers and marine operators are increasingly abandoning basic DIY waterproofing retrofits. Instead, the industry is moving rapidly toward solid-state, fully encapsulated displays. This market pivot is largely driven by the escalating costs of electrical downtime. Modern machinery relies heavily on interconnected CAN-bus systems, where a single short-circuited gauge can disable an entire vehicle. Consequently, standard splash-proof designs are being replaced by factory-sealed instruments that offer guaranteed washdown defense straight off the assembly line.
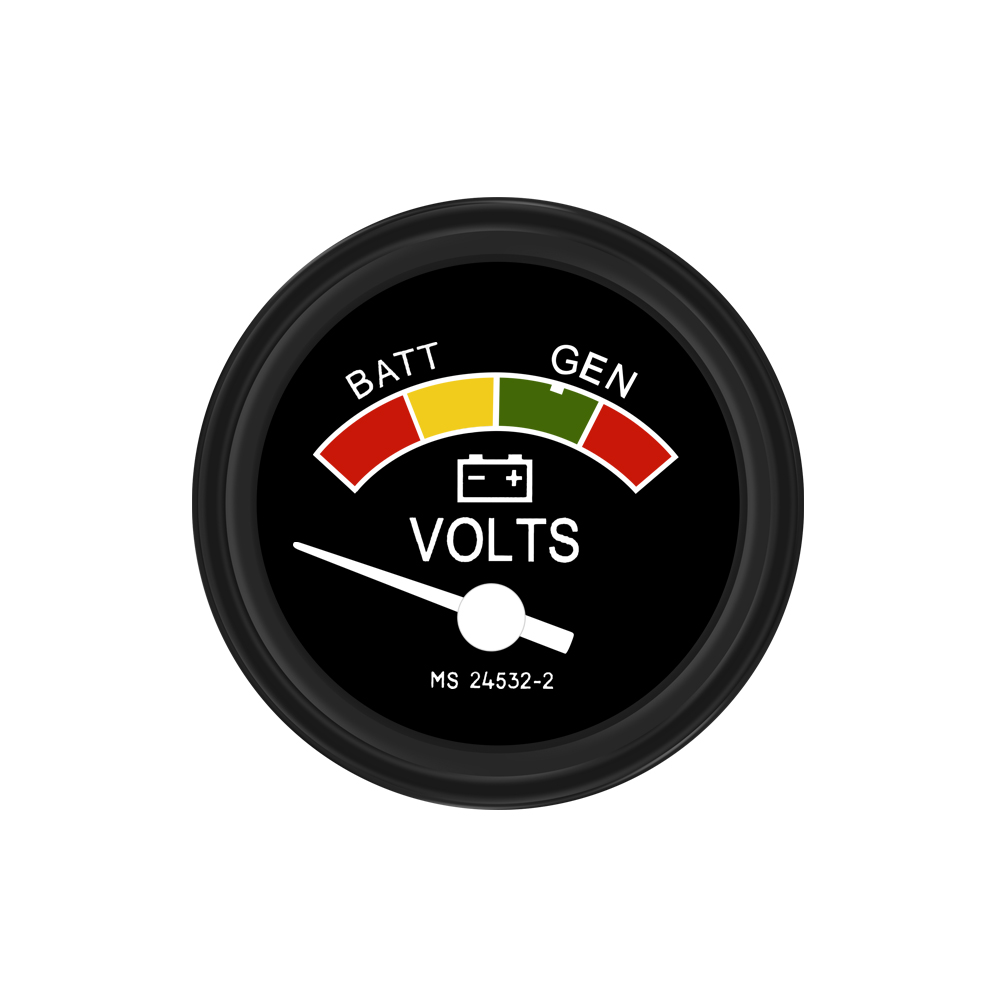
A washdown environment refers to settings where machinery is subjected to rigorous, forceful cleaning protocols. This typically involves high-pressure water hoses, heated water, and aggressive chemical degreasers. These harsh conditions are standard operating procedure in industrial food processing plants, marine vessels, heavy-duty construction sites, and military depots. Unlike passive rain or occasional puddles, washdown procedures force water into microscopic crevices through high kinetic energy.
Water naturally seeks the path of least resistance. When hit with a concentrated spray, that high-velocity moisture acts as a physical wedge. It forces its way directly into the dashboard console. The bezel—the outer metal or plastic ring that secures the glass lens to the gauge housing—is the primary point of vulnerability. Moisture typically bypasses the bezel through two distinct pathways.
The first pathway is the front glass-to-bezel joint, where thermal expansion and contraction slowly degrade the factory seal over the years. The second, and far more common pathway, is the bezel-to-dashboard mounting gap. If the dashboard surface is slightly uneven, or if the mounting bracket lacks adequate tension, a microscopic gap remains. Capillary action draws standing water through this gap. High-pressure spray then forces it directly into the sensitive console wiring.
When moisture breaches this barrier, the consequences are immediate. The most visible sign is a fogged lens, caused by trapped moisture vaporizing when the gauge illuminates and heats up. Beyond mere aesthetics, water ingress leads to rapid galvanic corrosion on internal copper coils and circuit boards. This corrosion alters electrical resistance, resulting in erratic voltage readings. In modern 12V or 24V systems, even a few drops of mineral-rich water can cause a catastrophic short circuit, leading to complete component failure and potential fire hazards within the wiring harness.
To achieve a reliable seal against pressurized water, technicians cannot rely on guesswork. You must select materials engineered specifically for mechanical stress, thermal cycling, and chemical resistance.
The primary defense against water ingress is a physical barrier. EPDM rubber or Neoprene gaskets, specifically cut for standard 52mm gauges, remain the industry standard. EPDM rubber is highly resistant to ozone, UV degradation, and extreme temperature fluctuations. When compressed by the gauge's rear mounting bracket, these gaskets deform slightly. This satisfying compression allows the rubber to fill surface imperfections on the dashboard panel, creating a watertight mechanical seal.
Furthermore, when a rubber gasket alone is insufficient, Room Temperature Vulcanizing silicone acts as a vital secondary barrier. It is absolutely critical to select a marine-grade, neutral-cure silicone. Standard bathroom caulking contains acetic acid. Neutral-cure silicone, in contrast, adheres strongly to plastics, metals, and fiberglass without outgassing corrosive byproducts. It remains flexible long after curing, absorbing the heavy vibrations typical in heavy machinery.
While not a structural sealant, dielectric grease provides an excellent supplementary layer of moisture defense. Applied directly to the rear electrical terminals and wiring harness connectors, this non-conductive compound actively repels water. If moisture does manage to bypass the bezel, the dielectric grease prevents the water from bridging the electrical contacts.
For advanced sealing around delicate screens, such as the digital display of a voltmeter ammeter, a clear liquid gasket or UV-resistant epoxy is sometimes required. This reinforces the factory seal between the glass and the inner lip of the metal bezel. It requires precise application via a syringe to avoid obstructing the data readouts.
| Material Type | Best Application | Vibration Resistance | Washdown Suitability |
|---|---|---|---|
| EPDM Rubber Gasket | Standard 52mm round gauges | Excellent | High (Physical Barrier) |
| Neutral-Cure Silicone | Marine & Industrial secondary seals | Outstanding | Maximum (Chemical Bond) |
| Closed-Cell Foam | Rectangular digital displays | Moderate | Medium (Splash Only) |
| Plumbers' Putty | Static indoor plumbing ONLY | Poor (Cracks easily) | Not Recommended |
Achieving a resilient seal requires meticulous preparation. Rushing the process almost guarantees a leak. Following these specific steps ensures maximum adhesion and longevity.
Begin by disconnecting the battery to ensure absolute electrical safety. Carefully remove the gauge from the mounting panel by loosening the rear U-bracket or spin-nut. Once removed, inspect the mounting hole closely for burrs, rust, or debris.
Surface preparation dictates the success of your sealant. Use a lint-free microfiber cloth and 90 percent isopropyl alcohol to thoroughly scrub the back lip of the bezel, the gauge body, and the dashboard mounting surface. Avoid oil-based cleaners or standard degreasers. They leave a microscopic film that actively prevents silicone from bonding. Allow the alcohol to flash off completely, leaving a bone-dry, high-energy surface.
Slide the EPDM rubber O-ring or custom-cut gasket over the rear of the gauge body. Push it up smoothly until it rests flat against the back of the bezel. Ensure the gasket is neither twisted nor pinched. If the dashboard surface is heavily textured, apply a translucent, paper-thin layer of dielectric grease to the dashboard side of the gasket. This specialized engineering trick allows the rubber to slide and seat properly without binding or tearing during the final tightening phase.
For environments requiring maximum washdown protection, you must apply a secondary silicone seal. Using a precision applicator tip, run a thin, continuous 2mm bead of marine-grade, neutral-cure silicone around the inner corner where the gasket meets the gauge housing.
To smooth the silicone without smudging the gauge face, experienced technicians use a gloved finger dipped in a mild soapy water solution. The soap prevents the silicone from sticking to the glove. This allows you to create a smooth, concave fillet that naturally deflects water away from the joint.
Insert the gauge back into the dashboard panel and reattach the mounting bracket from the rear. The torque applied during this step is critical. Tighten the bracket just enough to compress the rubber gasket by approximately 20 to 30 percent. Over-tightening will warp the plastic housing, extrude the silicone completely out of the joint, and potentially crack the bezel.
Once secured, exercise patience. Do not expose the equipment to water immediately. The silicone requires atmospheric moisture to vulcanize properly. Allow a minimum of 24 to 48 hours of curing time at room temperature before subjecting the dashboard to a high-pressure hose.
The techniques and materials required to waterproof a gauge vary significantly across different industries. An approach that works for a weekend off-road vehicle may fail catastrophically in a commercial marine setting.
In the automotive sector, dashboard and engine bay gauges are routinely exposed to extreme thermal cycling, vibration, and occasional pressure washing to remove mud. When sealing a standard 52mm automotive voltmeter operating on an 8-16V range, the primary goal is to deflect indirect splashes and prevent moisture buildup from ambient humidity. Technicians should focus on utilizing a high-quality Neoprene gasket. Because automotive dashboards often feature textured vinyl, a thin layer of dielectric grease on the gasket helps fill micro-abrasions in the dash material, creating a highly uniform barrier.
Military vehicles operate under rigorous specifications demanding absolute reliability. These machines undergo aggressive chemical washdowns to remove corrosive desert sand, deep mud, and chemical contaminants. A true Humvee voltmeter is typically built with a robust metal bezel and requires at least an IP54 rating straight from the factory to withstand operational abuse. When maintaining these heavy-duty M-Series truck gauges, standard silicone falls short. Technicians must use military-spec, vibration-resistant polyurethane sealants to ensure the bezel remains perfectly flush against the reinforced steel dashboard.
As dashboard real estate becomes increasingly valuable, operators are moving away from cluttered arrays of single-function analog gauges. Consolidating your monitoring equipment presents unique waterproofing challenges that require specific sealing strategies.
Upgrading to a 12V digital display, such as a horizontal temp voltage monitor, allows operators to track critical engine metrics simultaneously from a single cutout. This inherently reduces the number of potential leak points on the console. However, these modern units often feature rectangular or flat-panel bezels, which distribute mounting pressure differently than traditional round gauges.
When sealing a rectangular display, uniform compression is vital. Because flat-panel bezels are prone to flexing at the corners, you must use custom-cut, closed-cell foam gaskets rather than standard O-rings. Applying a continuous, even bead of silicone along the straight edges ensures that high-pressure water cannot exploit corner gaps during a washdown.
Even experienced mechanics can inadvertently compromise a dashboard's waterproofing by utilizing incorrect materials or improper installation techniques. Avoiding these prevalent errors is critical for maintaining accurate electrical readings.
One of the most frequent mistakes is the use of standard, acid-curing bathroom silicone. You will recognize improper acid-curing silicone by its sharp, vinegar-like odor. These sealants release acetic acid as they cure, which is highly corrosive to the delicate copper wiring and exposed circuit boards found inside the gauge. Over time, this off-gassing degrades the electrical terminals, leading to erratic voltage readings. Always verify that your chosen sealant is explicitly labeled as neutral cure or sensor safe.
In an eager attempt to create a watertight seal, operators often apply excessive torque to the rear mounting bracket. Plastic gauge bodies are simply not designed to withstand high compression forces. Over-tightening places severe mechanical stress on the housing, distorting the rubber O-ring and causing it to bulge out from behind the bezel. Ironically, this creates brand new pathways for water ingress. Always tighten the bracket just enough to firmly compress the gasket.
Finally, many high-quality gauges are manufactured with small breathing holes or membrane patches on the rear casing. These vents are essential for equalizing internal temperature and allowing trapped humidity to escape. A common DIY error is completely smothering the back of the gauge, including these vents, with sealant. When the rear vents are blocked, normal temperature fluctuations cause internal moisture to condense on the inside of the glass lens, resulting in a permanently fogged display. You must seal the front bezel against washdowns while leaving the rear ventilation system entirely unobstructed.
Properly sealing your dashboard instruments is a non-negotiable maintenance step that prevents costly electrical failures. By utilizing premium EPDM rubber gaskets, sensor-safe marine sealants, and precise installation techniques, you can effectively shield your console from the destructive forces of high-pressure washdowns.
While meticulous DIY methods work exceptionally well for basic splash protection, aggressive industrial and marine environments ultimately demand purpose-built waterproof equipment. Evaluate your current dashboard setup today. If your machinery faces relentless washdowns, upgrading to factory-sealed, IP-rated gauges is the most reliable way to ensure long-term electrical safety and operational efficiency. Explore the professional-grade monitoring solutions at MrGauge to find the exact instrument engineered for your specific environmental demands.
No. Plumbers' putty is engineered for static indoor plumbing fixtures. Over time, the constant vibration from a vehicle engine causes the putty to dry out, harden, and crack. Once cracked, it offers zero protection against high-pressure washdowns. Always use an EPDM rubber gasket or a non-corrosive marine-grade silicone designed specifically to absorb vibration and repel moisture.
A rugged military or off-road dashboard gauge should possess a minimum rating of IP54 for basic dust and splash resistance. However, if the vehicle's interior or dashboard is routinely subjected to direct, high-pressure hose washdowns to remove heavy mud or chemical agents, an IP65 or IP67 rating is strictly recommended to ensure internal circuitry remains completely isolated.
If your monitor is developing internal condensation, it is highly likely that the rear ventilation holes were obstructed during the sealing process. The front bezel seal successfully prevents new external water from entering, but the gauge still requires rear vents to equalize internal air pressure. Without ventilation, ambient humidity trapped inside the housing condenses directly onto the internal glass lens when temperatures drop.
Never test a newly sealed gauge with a commercial pressure washer immediately after installation. First, you must allow the neutral-cure silicone a full 24 to 48 hours to properly cross-link and cure. Once cured, perform a controlled splash test using a low-pressure garden hose or a cup of water poured gently over the bezel. Inspect the rear wiring panel for any signs of moisture penetration before exposing the equipment to a full industrial washdown.
The decision depends entirely on your operational environment. If your equipment only faces occasional light rain or accidental splashes, applying an aftermarket seal to an existing gauge is a practical and cost-effective step. However, if your environment requires frequent, high-pressure washdowns, purchasing a factory-sealed gauge rated IP65 or higher is the most logical choice. Factory-sealed units provide guaranteed internal protection that DIY methods simply cannot replicate.
Even with an IP67 rating, which protects against temporary immersion, it is not advisable to aim a zero-degree pressure washer nozzle directly at the bezel from point-blank range. The concentrated kinetic energy of a 1,500 PSI blast can exceed the testing parameters of the IP rating. Always maintain a minimum spray distance of 12 to 18 inches to protect the structural integrity of the seal.
For equipment operating in harsh industrial or marine environments, conduct a visual inspection of the dashboard seals every six months. Look for signs of cracked silicone, bulging rubber gaskets, or internal lens condensation. These symptoms indicate the physical barrier has been compromised and requires immediate resealing to prevent electrical shorts.


